AllegroGraph Configuration
These settings will configure your system to use AllegroGraph RDF store as its backend.
Replacing 4store with AllegroGraph
Your OntoPortal Virtual Appliance can use either 4store or (new with version 3.0) AllegroGraph as its RDF backend store. The 4store is the default RDF store for the system, as we have much more experience with it to date.
The configuration can be changed at any time by shutting down BioPortal, resetting the backend store configuration attribute, and restarting BioPortal. However, the Annotator and search index data will not change when you switch the backend, so it isn’t really feasible to go back and forth — you’ll want to pick your backend system at the beginning, or be prepared to re-index your databases with each switch.
What’s Included?
We included a version of AllegroGraph with your Virtual Appliance (VA) that is tested to work with this version of the Appliance. The included AllegroGraph is not necessarily the most recent version of the AllegroGraph software.
If you want to upgrade your AllegroGraph software to the most recent version, you can obtain that from the Franz, Inc. website. However, we can not guarantee the compatibility of the Appliance with the latest AllegroGraph version.
Install AllegroGraph
If not already present in a current version, install the AllegroGraph (AG) server using the instructions on this page:
https://franz.com/agraph/support/documentation/current/server-installation.html
We recommend reviewing these instructions, which cover a number of different installation scenarios.
Download AllegroGraph Distribution
[centos@localhost ~]$ mkdir tmp
[centos@localhost ~]$ cd tmp
[centos@localhost tmp]$ wget https://franz.com/ftp/pri/acl/ag/ag7.3.0/linuxamd64.64/agraph-7.3.0-1.x86_64.rpm
--2022-09-16 22:03:07--  https://franz.com/ftp/pri/acl/ag/ag7.3.0/linuxamd64.64/agraph-7.3.0-1.x86_64.rpm
Resolving franz.com (franz.com)... 192.235.120.131
Connecting to franz.com (franz.com)|192.235.120.131|:443... connected.
HTTP request sent, awaiting response... 200 OK
Length: 143240952 (137M) [application/x-rpm]
Saving to: ‘agraph-7.3.0-1.x86_64.rpm’

100%[========================================================================================>] 143,240,952 5.10MB/s   in 16s

2022-09-16 22:03:24 (8.36 MB/s) - ‘agraph-7.3.0-1.x86_64.rpm’ saved [143240952/143240952]
Install AllegroGraph
[centos@localhost tmp]$ sudo rpm -i agraph-7.3.0-1.x86_64.rpm
Start AllegroGraph Server
The AllegroGraph was shipped in the distribution pre-configured to support the settings described here. Follow the steps below to convert your system from 4store to AllegroGraph backend store.
Enable and Start AllegroGraph Services
[centos@localhost ~]$ sudo systemctl enable agraph
agraph.service is not a native service, redirecting to /sbin/chkconfig.
Executing /sbin/chkconfig agraph on
[centos@localhost ~]$ sudo /sbin/service agraph start
Starting agraph (via systemctl):                           [  OK  ]
Verify That AllegroGraph is Running
The local version of AllegroGraph bundled with the Virtual Appliance (VA) sits behind a firewall, and thus, cannot be accessed from an outside system (such as your Host operating system). To get around that restriction, we can create an SSH tunnel that allows this access. Open your favorite terminal app in your host OS and run the following command:
ssh -N -L localhost:10035:localhost:10035 centos@<IP address of your VA>
For example:
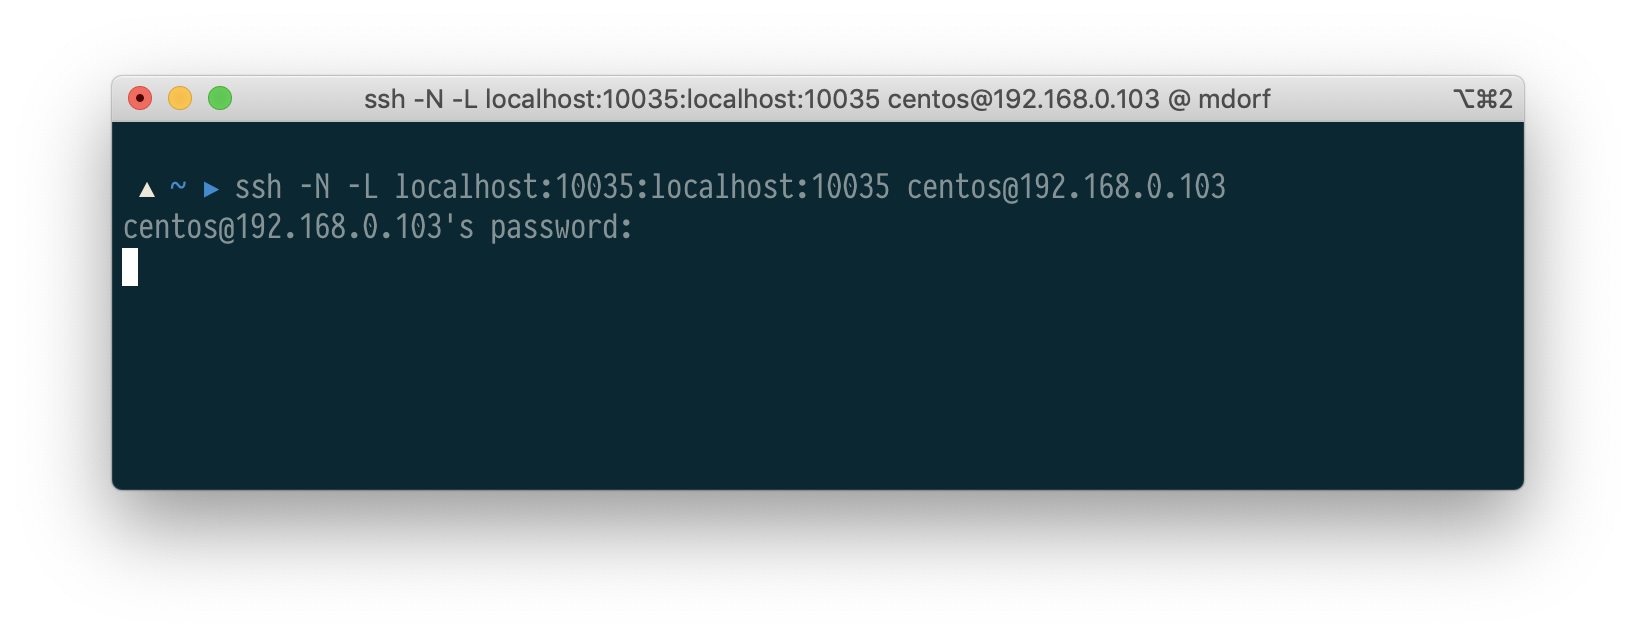
Next, on your host OS, open a browser and navigate to:
http://localhost:10035
You should see a page requiring AllegroGraph Username and Password. Ignore the login prompt for the moment. All we needed at this point is to ensure that the AllegroGraph server is up and running.
Login to VA as ontoportal User
[centos@localhost ~]$ sudo su - ontoportal
[ontoportal@localhost ~]$
Update OntoPortal Configuration Files
[ontoportal@localhost bootstrap]$ cd /srv/ontoportal/virtual_appliance/appliance_config/
[ontoportal@localhost appliance_config]$ ls -l
total 8
drwxr-xr-x. 5 ontoportal ontoportal   45 Aug  3 23:24 bioportal_web_ui
drwxr-xr-x. 3 ontoportal ontoportal   20 Aug  3 23:24 ncbo_cron
drwxr-xr-x. 3 ontoportal ontoportal   20 Aug  3 23:24 ontologies_api
drwxrwxr-x  7 ontoportal ontoportal  228 Oct 22 16:36 ontologies_linked_data
-rw-r--r--. 1 ontoportal ontoportal 1712 Oct 14 13:07 site_config.rb
-rw-r--r--. 1 ontoportal ontoportal 1716 Aug  3 23:24 site_config.rb.default
You will need to update the configuration files in the following directories: ncbo_cron, ontologies_api per the instructions below.
Update NCBO Cron Configuration Files
Navigate to NCBO Cron config directory and open config.rb in your favorite Linux editor:
[ontoportal@localhost config]$ cd /srv/ontoportal/virtual_appliance/appliance_config/ncbo_cron/config/
[ontoportal@localhost config]$ nano config.rb
Find the following line:
GOO_BACKEND_NAME = '4store'
and replace it with:
GOO_BACKEND_NAME = 'AG'
The values are case-sensitive. Make sure you use the uppercase ‘AG’ as the value. Save the file and exit.
Update Ontologies API Configuration Files
Navigate to Ontologies API config directory and open appliance.rb in your favorite Linux editor:
[ontoportal@localhost config]$ cd /srv/ontoportal/virtual_appliance/appliance_config/ontologies_api/config/environments
[ontoportal@localhost config]$ nano appliance.rb
Find the following line:
GOO_BACKEND_NAME = '4store'
and replace it with:
GOO_BACKEND_NAME = 'AG'
The values are case-sensitive. Make sure you use the uppercase ‘AG’ as the value. Save the file and exit.
Run the AllegroGraph Bootstrapping Script
The bootstrapping script creates the initial triple records and lookup data which is required for Ontoportal to operate properly. It also deploys the updated configuration files to the server.
[ontoportal@localhost ~]$ cd /srv/ontoportal/virtual_appliance/utils/bootstrap/
[ontoportal@localhost bootstrap]$ sh bootstrap_AG.sh
Starting agraph (via systemctl):                           [  OK  ]
uri: http://localhost:10035/repositories/ontoportal
relativeUri: repositories/ontoportal
id: ontoportal
title: ontoportal
readable: true
writable: true
replication: no
distributed: false
...
Note that this script may take a few minutes to execute. Please wait unit it finishes.
Restart Appliance Services
[ontoportal@localhost deployment]$ sudo oprestart
Navigate to AllegroGraph WebView
Open your browser on the host machine and once again navigate to:
http://localhost:10035
This time, you should see the following page instead of the login prompt:
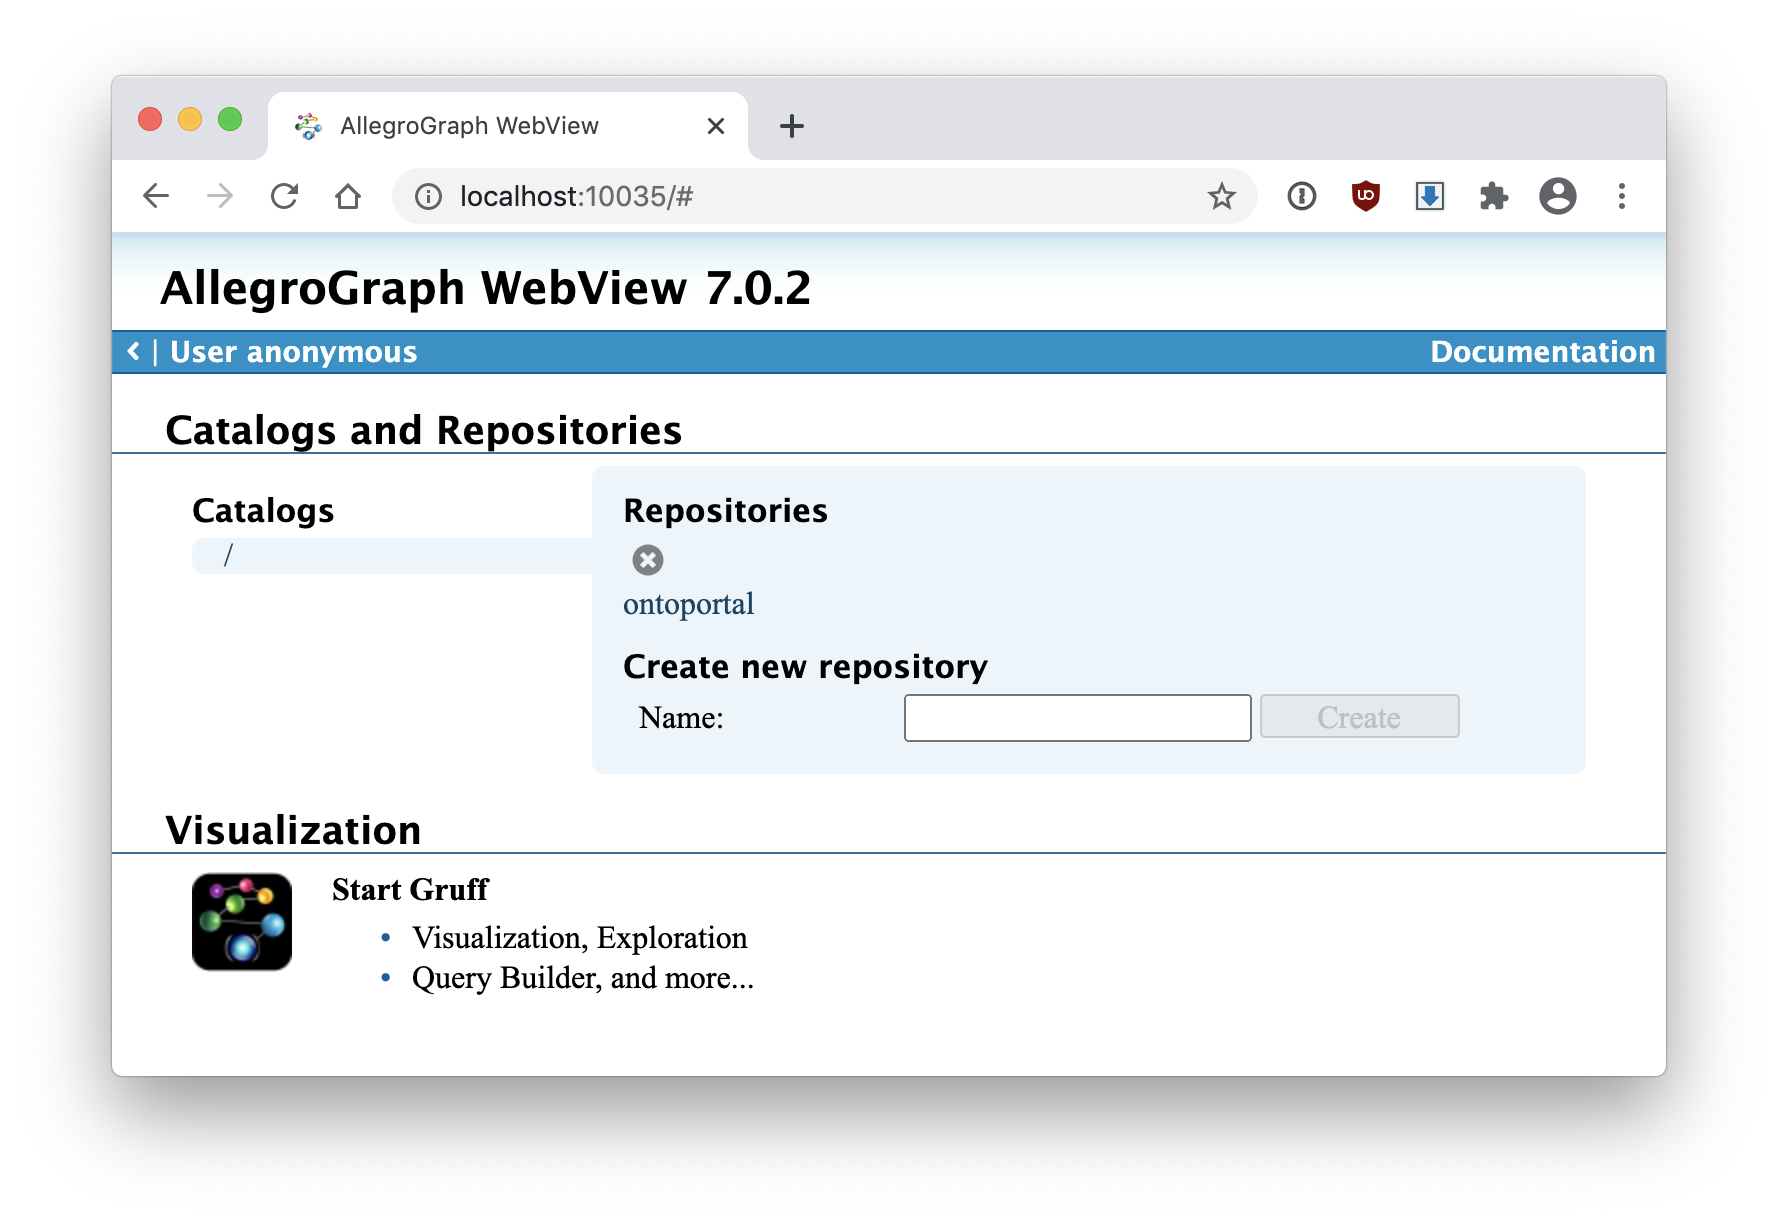
Click on the ontoportal repository link. You should see some records in the repository: Repository ontoportal — 890 statements.
Create the firstboot File and Reboot the Appliance <= IMPORTANT!!!
This is a very important step, which is required in order to re-initialize the system for AllegroGraph backend.
[ontoportal@localhost deployment]$ touch /srv/ontoportal/firstboot
[ontoportal@localhost deployment]$ exit
logout
[centos@localhost deployment]$ sudo reboot
Your Virtual Appliance is now pointing to AllegroGraph as the backend. Next, check the web UI and the REST services to make sure they are up and running.
Stop and Disable 4store Services
You can now stop and disable the defunct 4store service:
[centos@localhost ~]$ sudo systemctl stop 4s-httpd
[centos@localhost ~]$ sudo systemctl disable 4s-httpd
Removed symlink /etc/systemd/system/multi-user.target.wants/4s-httpd.service.
Access the Web UI
From your host operating system’s browser (not in the virtual environment), the Appliance Web UI can be accessed at http://{ip_address_of_appliance}.
If the AllegroGraph switch completed successfully, clicking on the Ontologies link at the top should bring up this page with a single ontology, Semantic Types Ontology (STY):

Access REST Services
REST services are available at the following location:
http://{ip_address_of_appliance}:8080
(OPTIONAL) Upgrading Built-in Version of AllegroGraph
Download the New Version of AllegroGraph
Run the command below as the centos user. Replace the link below with the correct link to the RPM file.
[centos@localhost ~]$ sudo curl https://franz.com/ftp/pri/acl/ag/ag<version>/linuxamd64.64/agraph-<version>.x86_64.rpm --output agraph-<version>.x86_64.rpm
Stop AllegroGraph Service
[centos@localhost ~]$ sudo /sbin/service agraph stop
Stopping agraph (via systemctl):                           [  OK  ]
Run the Installer
[centos@localhost ~]$ sudo rpm -U agraph-<version>.x86_64.rpm
If you are downgrading from a newer verson, run the command below instead:
[centos@localhost ~]$ sudo rpm -U --oldpackage agraph-<version>.x86_64.rpm
Reload AllegroGraph Daemon and Start the Service
[centos@localhost ~]$ sudo systemctl daemon-reload
[centos@localhost ~]$ sudo /sbin/service agraph start
Starting agraph (via systemctl):                           [  OK  ]
(OPTIONAL) Running Your Own Version of AllegroGraph
If you would like to install your own version of AllegroGraph, ignoring the one bundled with the appliance, follow the steps below. You will need to point the configuration files from the step Update OntoPortal configuration files to your own server in addition to switching GOO_BACKEND_NAME to AG.
LinkedData.config do |config|
  config.goo_host                   = 'localhost'
Set config.goo_host to the IP address of your AllegroGraph server.
1. Install AllegroGraph
If not already present in a current version, install the AllegroGraph (AG) server using the instructions on this page:
https://franz.com/agraph/support/documentation/current/server-installation.html
We recommend reviewing these instructions, which cover a number of different installation scenarios.
2. Start AllegroGraph
An example from this page of commands to start and stop AllegroGraph:
Note that the last few lines of the script show how to start and stop AllegroGraph on your server. These lines will be similar to this example:

You can start AllegroGraph by running:
sudo /sbin/service agraph start

You can stop AllegroGraph by running:
sudo /sbin/service agraph stop
You need to run these commands as centos user, NOT ontoportal user!
3. Navigate to AllegroGraph Console
Once AllegroGraph is running, navigate to the AG Admin console. By default it runs on port 10035:
http://<your server name>:10035/#
4. Create Your Backend Repository
Under Create new repository type in a name for your new repository to be used for OntoPortal and click Create. For Example: ontoportal
5. Navigate to Your Repository
Once created, you should be able to navigate to your new repository via:
http://<your server name>:10035/#/repositories/ontoportal
From this view, you can run SPARQL queries against your data, add or delete records, export the repository in a number of formats, and run reports on the use of your data store.