General Instruction
You can supply the hostname (machine name) for the virtual machine during the deployment process. Our documentation refers to this hostname as ‘my_appliance_hostname’, in squiggly brackets (and {my_appliance_hostname} if in a command).
These steps start your Appliance and set the Appliance ID.
Once your Appliance is started, you can access it through your browser to get the Appliance ID, register your system and obtain a valid license.
Starting the appliance
We assume you have downloaded or instantiated the appliance as described in Getting Started.
These instructions use as an example VirtualBox 6.1.4 running on MacOS. You will find similar operations in most virtual environment software.
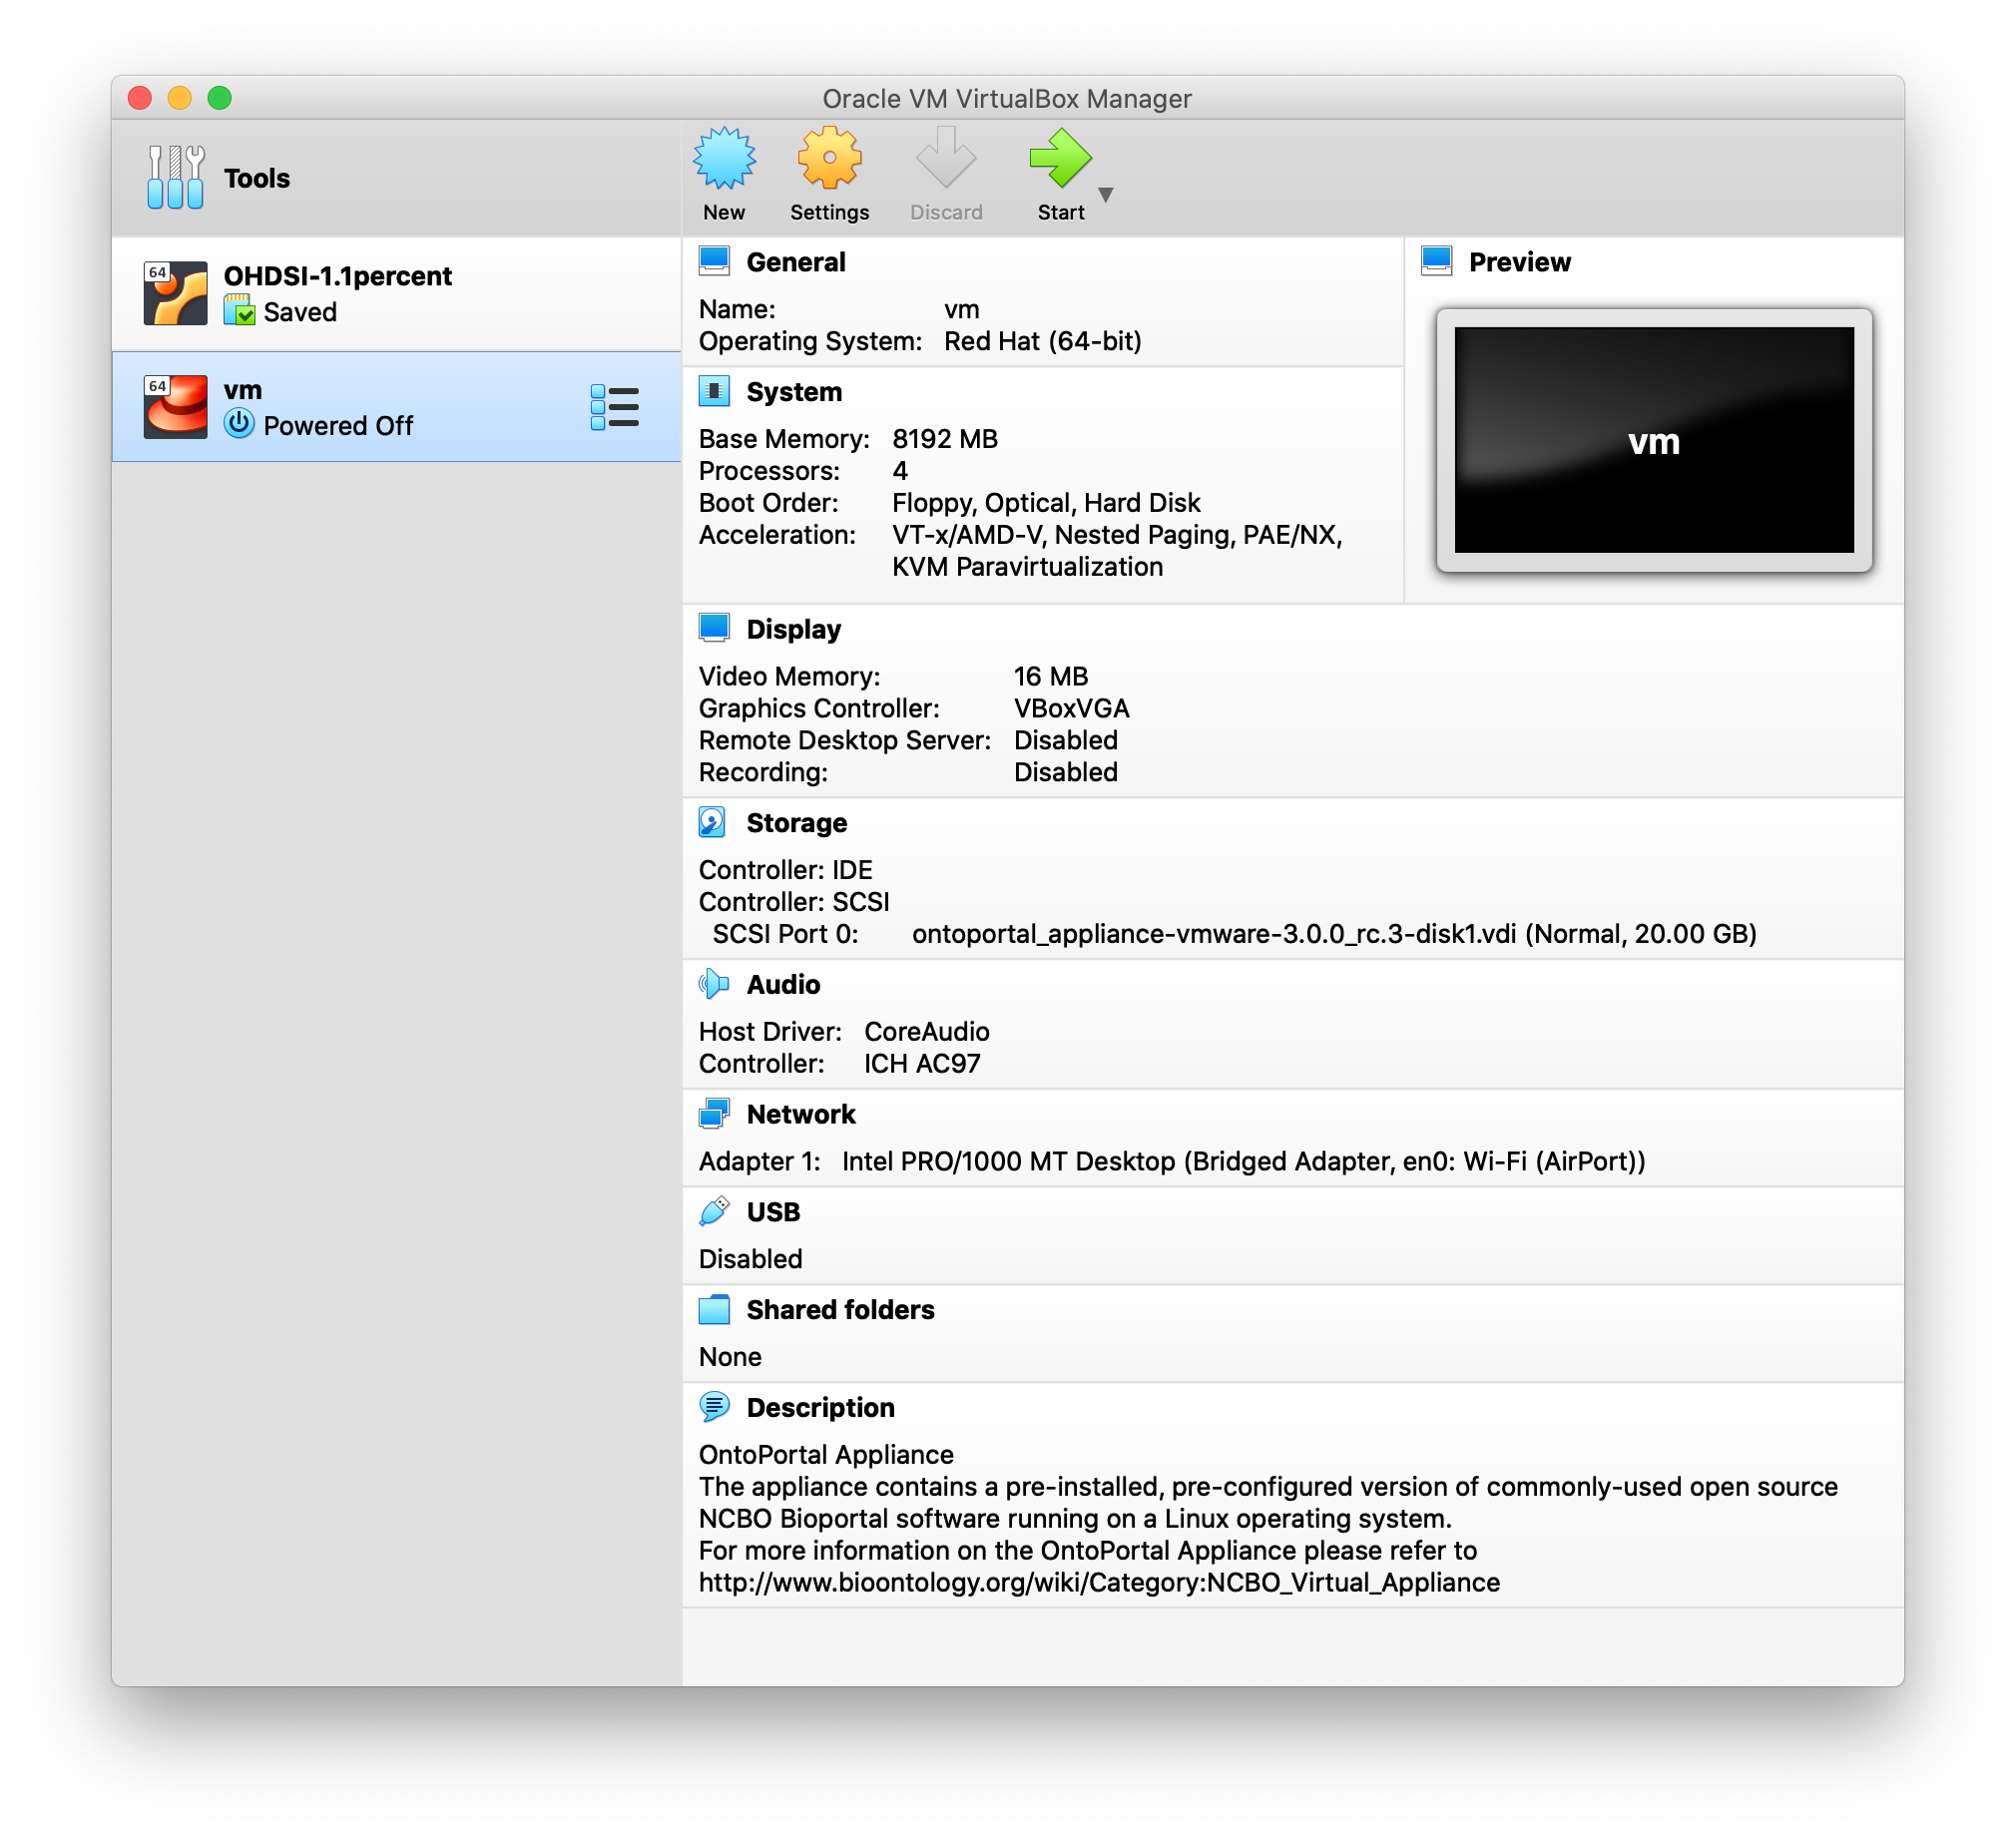
Import the Appliance into your Virtual Machine
Use the File > Import menu command to load your Appliance file.
The results should look something like this ‘vm’ entry.
Run the Appliance you just imported
When you press the Start button at the top of the displayed window, a console window should open that shows the virtual environment’s command environment.
At first you will see the virtual environment’s log messages scrolling down the screen, then a login prompt.
Even if you do not try to log in at that point, the bootup sequence continues, and the OntoPortal Virtual Appliance software also starts running. You will see the output associated with startup of the Appliance. Some details may differ if you are running a different Appliance version.
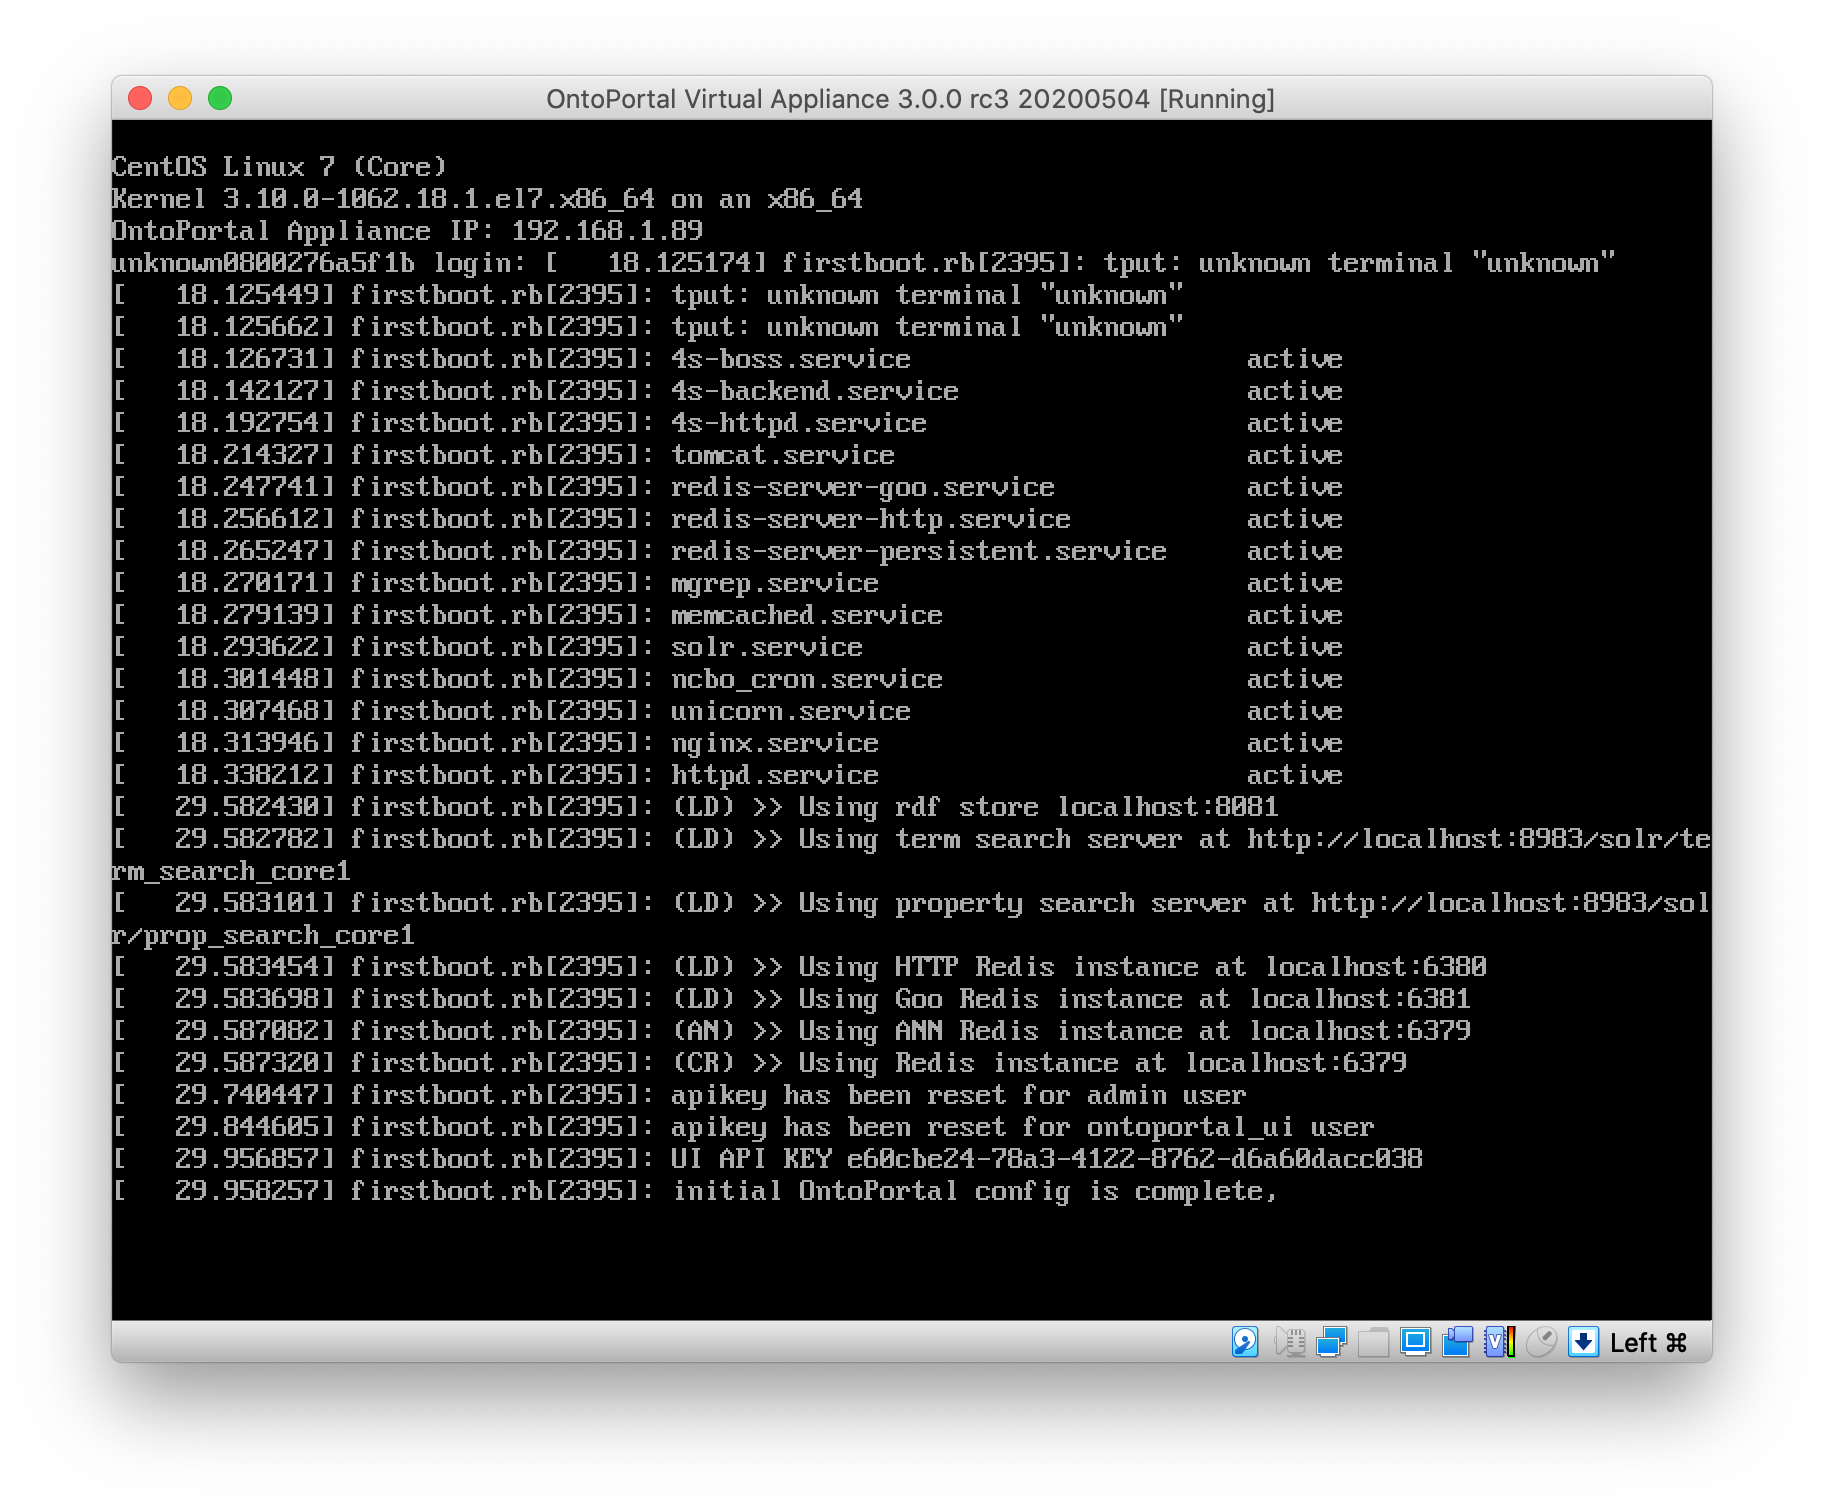
Near the end of that process, the running Appliance displays its initial IP address on the console screen. Make a note of this address so you can use it in later steps, or follow the instructions under ‘Accessing the system’ to obtain it.
Changing default passwords
You can enter a return key to see the prompt for your virtual environment.
In VirtualBox, depending on your configuration of the system, it may behave ‘oddly’ in the way it captures the mouse once you enter keystrokes. Tap on the so-called “host key” (the left command key, in the Mac) to get the VirtualBox to release the mouse so you can select other windows.
VMWare deployment
Virtual Operating System
- Username: centos
- Password: Ontoportal
On the first boot, you will be able to change your virtual OS password. When you are prompted, first enter the default password above. Then you will get the chance to enter your own password (twice). If in the reset process you enter the wrong default password, the entire sequence restarts.
OntoPortal Admin User
- Username: admin
- Password: changemeNOW
AWS AMI deployment
For the AWS AMI, the Operating System SSH login is centos
For the AWS AMI, the default OntoPortal application administrator is ‘admin’ and the initial password is the Instance ID of the ec2 instance. Instance ID is a string starting with i- followed by alpha-numeric string. You can find instance ID in the AWS EC2 console or you can get it by running wget -q -O - http://169.254.169.254/latest/meta-data/instance-id on the command line after sshing into the appliance.
Accessing the system
We call the IP address for your virtual operating system the {ip_address_of_appliance} in the commands we list here. This is where you can access the OntoPortal Virtual Appliance running inside your Appliance.
Enabling the copy/paste functionality between your host and guest operating systems is a challenging task. Instead of going through a complicated procedure of remapping keys we recommend using SSH from your host machine.
Make sure your SSH service runs on the Appliance startup by running this command in your Appliance:
sudo systemctl enable sshd
Get your guest VM IP address. Run this command in the guest VM terminal:
ip address show dev eth0 | awk '/inet / {print $2}' | cut -d/ -f1
Open your favorite terminal app in your host OS and connect to the Appliance via SSH:
$ssh centos@<IP address from the ip command>
Obtaining the IP address
During the initial startup of the virtual environment and the OntoPortal application, the IP address was displayed as described above. If it is no longer on screen, you can obtain it with the following methods.
To get the local IP address from the virtual environment terminal:
ip address show dev eth0 | awk '/inet / {print $2}' | cut -d/ -f1
(The command before the first pipe, ending in ‘eth0’, shows all the information about ethernet port called eth0.)
AWS AMI information
For the AWS AMI installation, the IP address is the public DNS provided by Amazon. You can check for this address in your EC2 management console using the Public IP Addresses or Public DNS.
Vmware Appliance information
Check ‘IP Addresses’ on the summary page of the virtual environment. Please note that Virtual Appliance comes with vmware guest tools installed, so IP Address should be displayed in the vm summary menu.
External IP address
If you want to obtain the external IP address for your computer (how your computer is known to the outside network) from the terminal, use this command:
curl http://ipecho.net/plain; echo
If your local IP is different than the external IP, it means that your computer is installed ‘behind’ a network router, and that you are sharing the external IP with at least one other device (the router having its own IP address). This is a common home networking configuration, and you do not need to worry about it if you do not need other internet users to access your system.
Accessing the web UI
From your computer’s browser (not in the virtual environment), the Appliance Web UI can be accessed at http://{ip_address_of_appliance}.
Accessing REST services
REST services are available at the following location:
http://{ip_address_of_appliance}:8080http://{ip_address_of_appliance}:8080/documentation
Accessing the operating system via ssh
For the AMS AWI installation, you can SSH to the machine using the username ‘centos’ and your Amazon private key.
Next step
To configure your system’s settings for your environment
proceed to the Initial Configuration step.